When using Google Meet for Distance Learning, keep in mind there are some great new features that may be helpful in addition to the old ones. Each item below has a link to the Google Support page for that feature if you need more help:
Recording
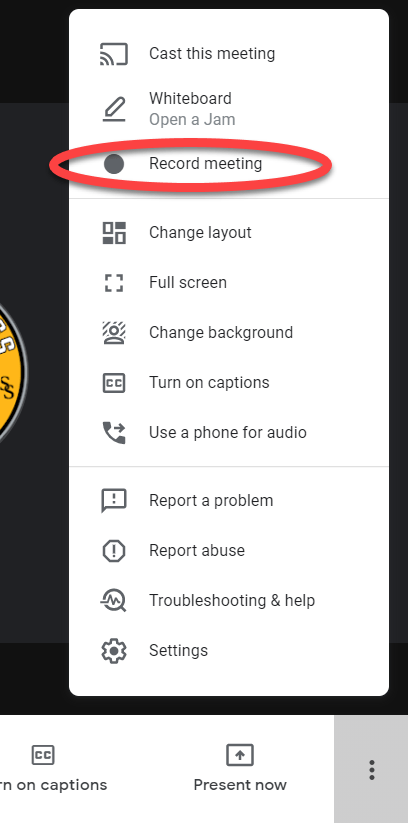
- When you start a Google Meet, click the More menu (three dots) to start a recording. Before you end your meeting, click the settings menu again to stop the recording. Your recorded meeting will automatically save to Google Drive, and you will receive a notification by Gmail once it lands in your “Meet Recordings” folder.
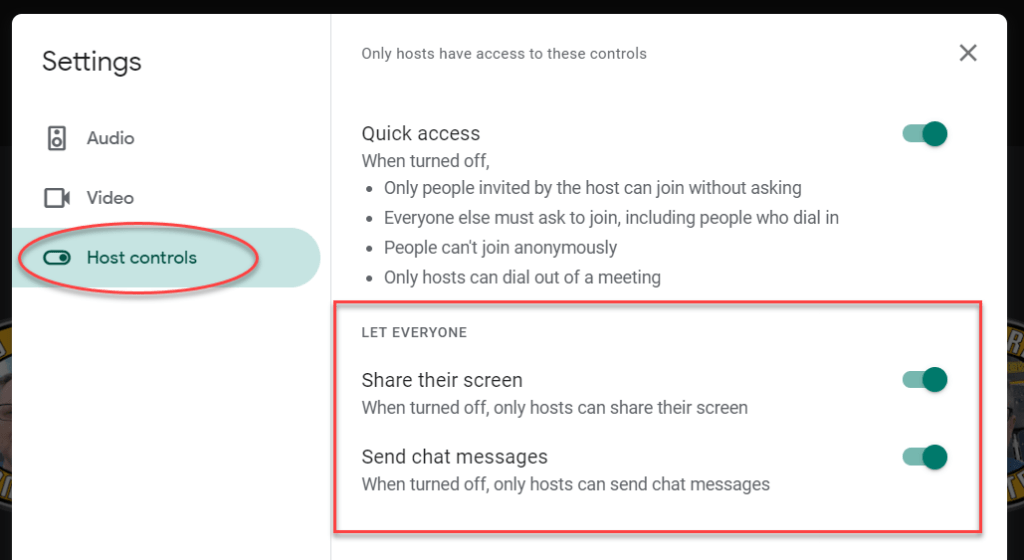
- During a meeting you may want to have greater control over chat and other features. Click the More Menu and choose Host Controls to enable/disable attendees ability to chat or share screens.
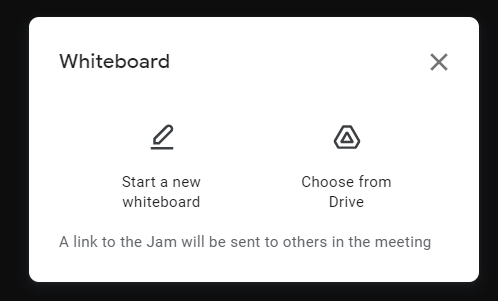
- If you’re teaching a subject that requires demonstration or collaboration, you can open a Jamboard (Whiteboard tool) that allows you to draw, add text and pictures, and collaborate live with students. Go to the More menu and choose “Whiteboard”
- During a meeting it may become necessary to mute or remove a participant from a meeting. Just hover over the participants tile, and click the appropriate icon.

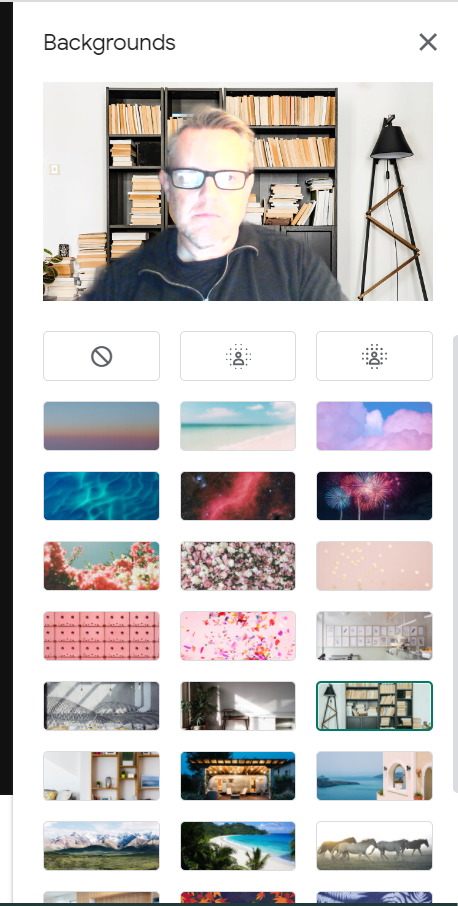
- Users now have the ability to blur or change their background to a preset scene. Click the More menu and choose “Change Background”
- Presenters and attendees can turn on captions to better understand what is going on. This is great for hearing impaired students. To enable, click the Captions icon on the Google Meet Taskbar or access Captions in the More menu (three dots)

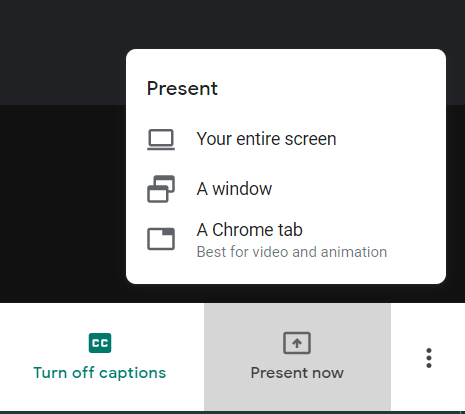
- Presenters will need the ability to present a screen from time to time. Google Meet gives you the option of presenting your entire screen, a window, or a specific Chrome Tab (best option). To do this, click on Present Now in the Google Meet taskbar at the bottom of the screen, and select your option.